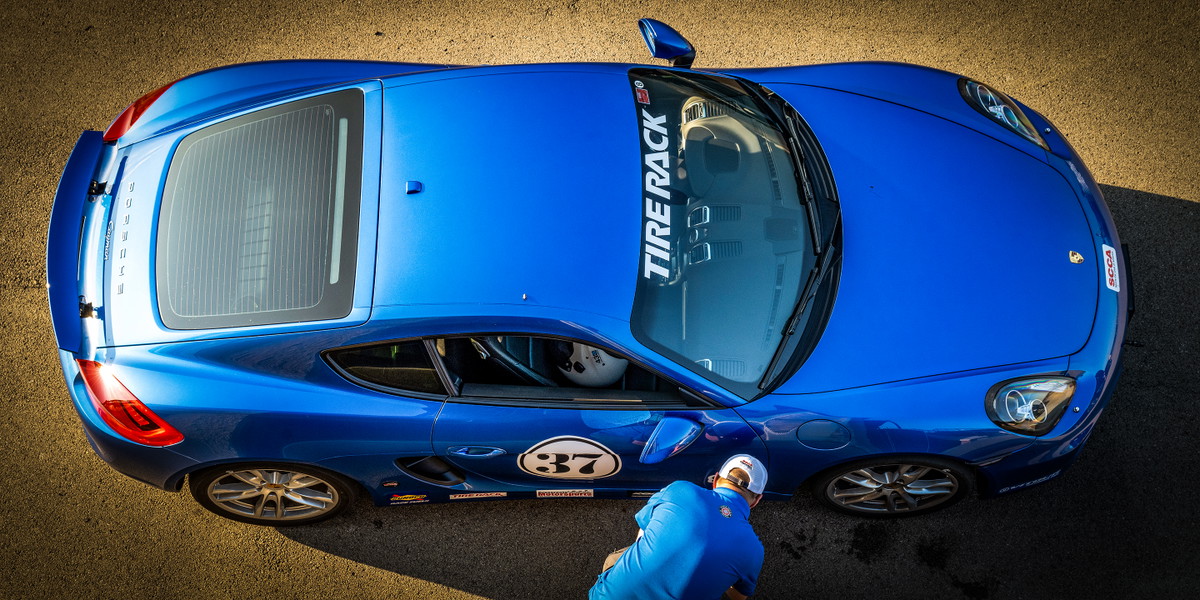
If you’re headed to a National SCCA® event, like the upcoming Tire Rack SCCA Time Trials National Championship or the SCCA RallyCross® National Championship Presented by Bingham Equipment Company, or you attended the recent Tire Rack SCCA Solo® National Championships, windshield banners are a prerequisite. This is a good thing. For many of these events, those windshield banners help keep the cost of the sport down thanks to the great partnership SCCA has with Tire Rack. The windshield banner also makes your everyday street car look like a race car, and everybody knows a sticker is worth at least one horsepower.
Required windshield banners are supplied for free at these events, making life easy for competitors. The only challenge is actually getting the banners placed on the windshield perfectly (or close enough to) centered and straight.
What seems like a simple task becomes immensely more challenging in the wind, rain, or when you’re by yourself. If you don’t care what it looks like on your car (good for you, I probably care too much) then putting on the sticker is easy. Crooked works in a pinch. But later, when you see an epic shot of your car sliding sideways with one tire in the air, it’ll bother you if your windshield banner is crooked in that photo.
If I had a dollar for every one of these stickers I’ve put on one of my cars crooked and had to take it off and try again, I could buy a new set of competition tires. In other words, I’ve done it the wrong way many, many times.
Learn from my mistakes: Here are five ways to get your windshield banner on straight.
1. Trim Edges
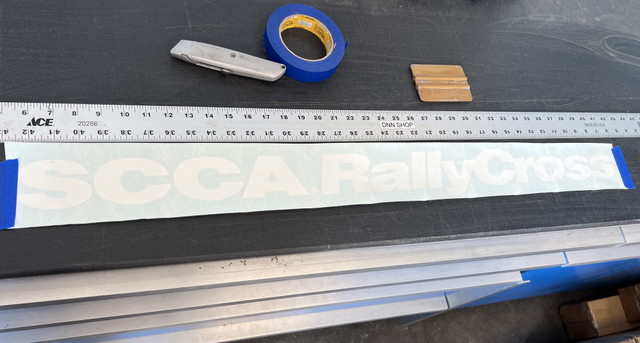
(If you look closely at the straight edge above the sticker, you’ll see that the edge of the transfer tape is not cut parallel to the white sticker, which means if you line up the transfer tape to the roofline of your car, the sticker underneath will inadvertently be placed on the vehicle crooked.)
These stickers are die-cut with transfer tape on them. You peel off the backing, place the sticker on the windshield, then peel the transfer tape off. Voila! Where the problem arises is the sticker is white and it’s difficult to see under the transfer tape. Plus, 95% of the time, the edges of the transfer tape are not cut parallel to the actual text of the windshield banner. To combat this, I take the time to trim the transfer tape so it’s parallel and equidistant around the actual white sticker that will be left on the car. Oh, did I mention I don’t do this at the track?
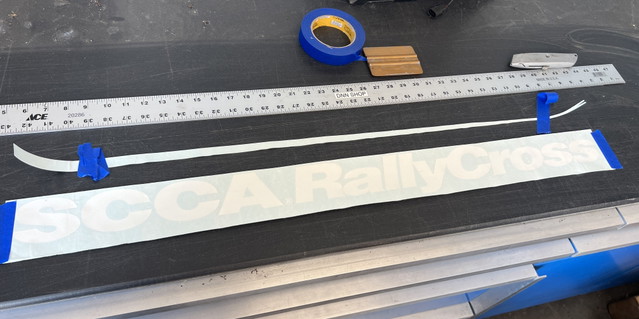
(I cut the top of the transfer tape and backing off very close to the top of the SCCA RallyCross sticker so I can place it high on the windshield and out of the driver’s view. See how crooked the remaining material is? If you lined up that original material with the top of the windshield, the sticker would definitely have been crooked.)
After learning the hard way that putting these stickers on a car correctly at the track is challenging, at each event I ask to take a windshield decal for the next event. This allows me to place that decal on my car in the comfort of my garage. While in a controlled environment, I use six things: painter’s tape, a razor, a straight edge, a scraper, scissors, and a measuring tape to put the stickers on straight.
2. Painter’s Tape Placement
Once you have the sticker trimmed up, it’s time to find the center of the windshield. This is not the time to peel the backing off and slap the sticker on the glass – that will certainly be a crooked, messy problem. Instead use painter’s tape and place the still-backed sticker on the windshield. Next, take a step back and see how it looks. Is it centered? Is it crooked? Is it too low? Is it upside down? (That may seem silly, but people have done it.)
Pro tip: clean the windshield prior to applying the windshield banner.
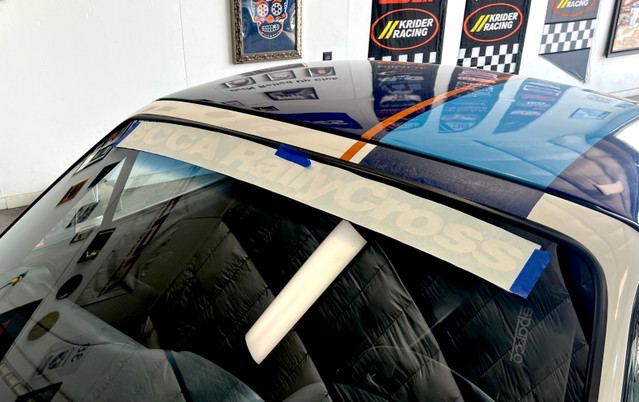
(Using painter’s tape, I position the sticker with the backing still in place on the windshield. This way I can move it around until I like the spot.)
3. Measure Twice, Stick Once
Once you have the sticker where you think it’s visually centered and level, take the time to use a measuring tape to measure each side of the windshield banner sticker to the left and right A-pillars. Measure one side, then the other. If one side is longer than the other, lift the backed sticker off the glass and reapply it with the painter’s tape until you have the same distance on both sides.
Remember to measure twice, because you only get one stick. Once these unbacked stickers touch the glass, they don’t like to come up.
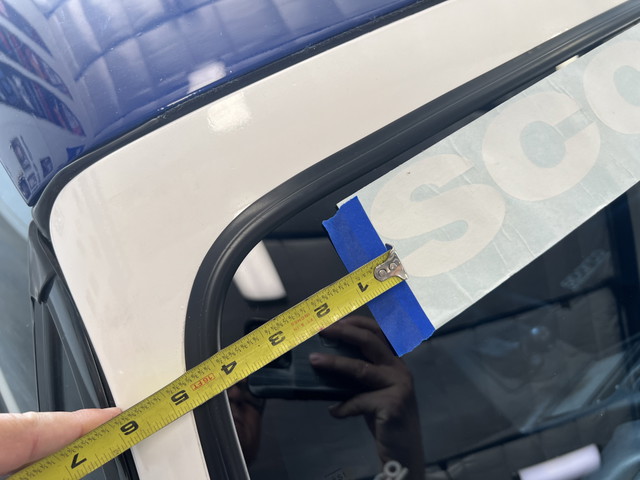
(Using the edge of the A-pillar to the left edge of the “S” in SCCA, you can see it is exactly four inches. I had the exact same distance on the other side.)
4. Reference Tape
Be it the Tire Rack sticker or the SCCA RallyCross sticker, it’s a big sticker and super easy to warp up and down as you lay the sticker on the windshield. To ensure you put the sticker exactly where I want it, I use a couple of pieces of reference tape. I set pieces of tape near the end of the sticker and trim the transfer tape so when I finally lay down the sticker, I know it’s going to the exact right spot.
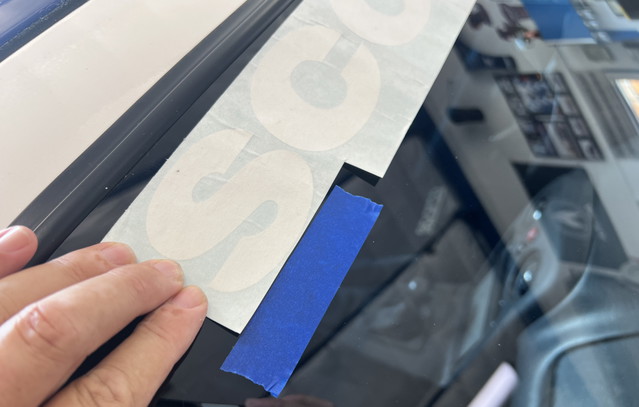
(Putting a couple of pieces of tape on the windshield as a reference to where to lay the sticker once you pull the backing off will ensure you get the sticker on exactly where you want it.)
5. Half at a Time
We have the sticker trimmed, we measured its position, and we taped it to the windshield. Now it’s time to stick it. But we’re only going to stick half of this big banner down at a time.
Instead of peeling the backing off and exposing this long sticker to the elements, we’re going to leave half of it taped to the windshield. Just peel back half of the backing and use scissors to cut that half of the backing away. Now, gently hold the sticker about an inch off the windshield and line up the end with the reference tape. Once the position is good, slowly scrape down the transfer tape, applying half the sticker to the windshield starting from the center of the sticker and working your way out.
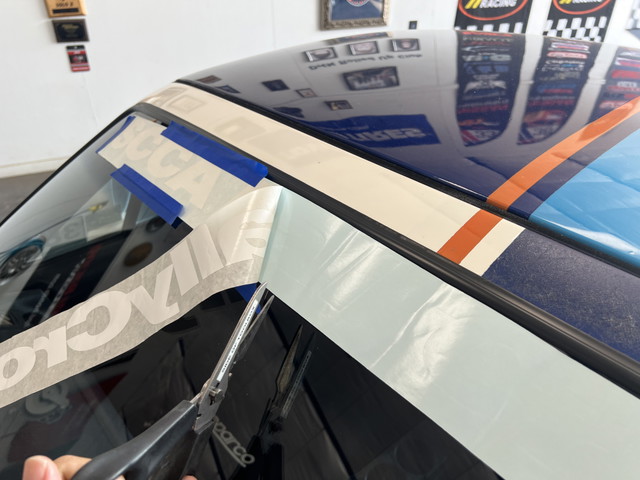
(Here’s the magic recipe of this method: only remove half of the backing on the sticker. Peel off half the backing, then use scissors to cut it away. The backed side of the sticker will still be attached to the windshield with painter’s tape (so it can’t move left or right or up or down). Then lay the other sticky side of the banner down.)
Once half of the sticker is on the car, it’s placed where it’s going to go. Peel the backing off the other side and then use your reference tape to line up the other end of the sticker; next, scrape on the sticker, working from center out. Work the scraper from side to side to get all of the air bubbles out from under the sticker.
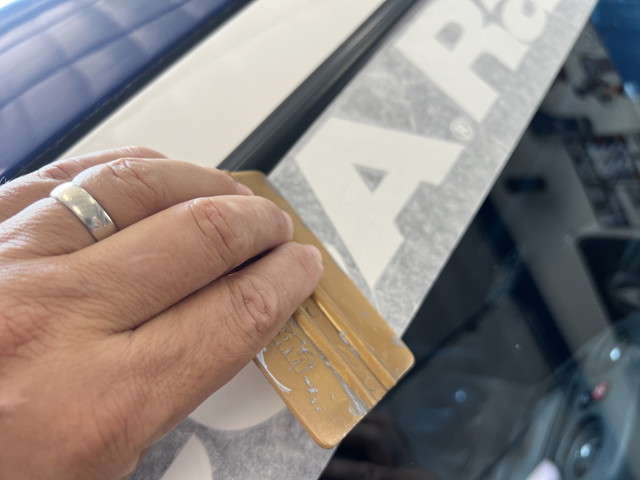
(Use a scraper (or a credit card from your wallet) to smooth out any air bubbles.)
All that’s left is to peel the transfer tape off the sticker and see your perfect placement of a windshield banner. This five-step method works every time, and using painter’s tape doesn’t require a second person to correctly place the big sticker. (I’ve tried doing this with friends, and the more people who help, it seems the more crooked the sticker is.)
So, get those stickers on straight and good luck at your next event!
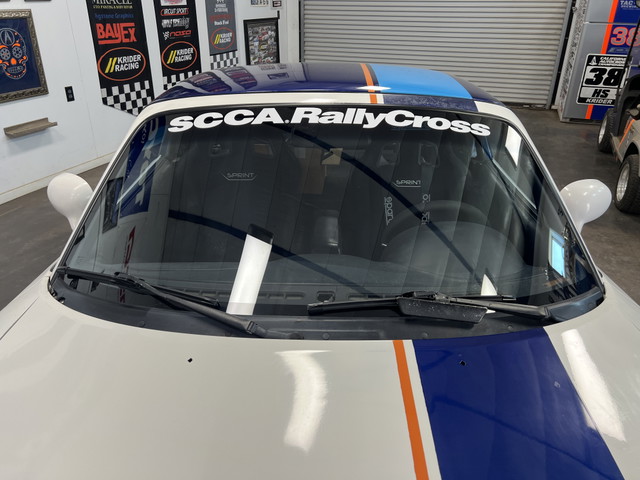
(There it is in all its glory. A perfectly centered, perfectly straight, as high on the glass as possible SCCA RallyCross windshield banner. All that’s left to do is go fast.)
(About the author: Rob Krider is a national champion racer, the author of the novel Cadet Blues, and is the host of the Stories and Cocktails podcast.)
(Lead Photo by Brian James. All other photos by Rob Krider)